Dec 28, 2020
Can you imagine a world without implicitly animated widgets? Doing things as trivial as changing the opacity of a widget, or moving a widget from one point to another would be a pain! You would have to manage your own AnimationController as well as the Tween, add a bunch of logic to manage the animation progress, and yadayada.
They make animating from one value to another crazily simple, and even more fun to use. They drastically reduce the boilerplate needed to animate a widget. Plus you can easily swap out the target value of an implicit animation during the animation.
Flutter’s implicit animation collection contains almost everything developers need to animate their apps. Plus the tutorials and guides out there help beginners to become instant animation pros! (P.S Don’t know what implicit animations are? Check out this video).
But… at times, you may find yourself needing more.
A few weeks ago (whilst building this package, and writing this article), I needed to animate the properties of a Transform widget. Normally, I would’ve just used an AnimationController, but I needed to dynamically update the Tween whenever a variable passed to the widget changed.
Emily Fortuna already wrote a fantastic article about creating custom implicit animations with TweenAnimationBuilder (and also illustrates the Doppler effect 😲).

Most of the time, TweenAnimationBuilder should be all you need. But this didn’t fit my use case, as I wanted the state of the implicitly animated widget to be contained in itself.
I needed an AnimatedTransform widget. But… that doesn’t come out of the box in the framework. I needed to create my very own custom implicit animations.
Enter the ImplicitlyAnimatedWidget! This is the widget that all implicit animations in Flutter are built upon. Even TweenAnimationBuilder uses this.
What’s even cooler is that ImplicitlyAnimatedWidget is powered by explicit animations. It runs on and manages an AnimationController.
How Custom Implicit Animations Work
Note: This section is fairly advanced. If you don’t understand it, skip ahead to the practical application. This will probably make more sense once you’ve built an animation for yourself.
As I mentioned before, most implicitly animated widgets (e.x AnimatedFoo) stem from ImplicitlyAnimatedWidget.
ImplicitlyAnimatedWidget is basically a wrapper around a StatefulWidget that takes in a curve and duration then creates an ImplicitlyAnimatedWidgetState.
This is important because it enforces that any state created is a subclass of ImplicitlyAnimatedWidgetState.
ImplicitlyAnimatedWidgetState (which is just a subclass of State) then uses the curve and durations provided by ImplicitlyAnimatedWidget to animate the properties of the widget.
Public APIs
The ImplicitlyAnimatedWidgetState exposes a couple of methods that will come in handy when building your own implicit animations. ImplicitlyAnimatedWidgetState also allows you to access the AnimationController (controller) that drives the animation, as well as the animation itself.
Because it is a StatefulWidget under the hood, common methods like initState and didUpdateWidget are still available. But it also comes with two other methods, forEachTween and didUpdateTweens.
The methods you should be concerned with are forEachTween and didUpdateTweens. Let’s start with forEachTween, which is the most important and most commonly used of the two.
The whole purpose of this method is to update the Tween of the animation whenever the widget’s parameters are changed and tell the animation to start if this is true. It does so by providing a visitor function.
Let’s take a look at an example that demonstrates how this works for an ImplicitlyAnimatedWidget called AnimatedScale.
To understand this snippet, we need to understand what the visitor function does. The visitor is a function with three arguments that returns an updated Tween.
The first argument is the current Tween being animated, in this case, ”_scaleTween”. The second is the target value which is the scale passed by the widget. The third is a function that provides the widget’s value being animated and expects that a new Tween beginning with that value is returned.
This is definitely a bit confusing at first, but the takeaway is that it returns a new Tween whenever the widget is updated.
The second didUpdateTweens is just a hook that is called after forEachTween. Any properties that depend on the Tweens being animated should be updated here. Most of the time, you will not need this. So now that you know how ImplicitlyAnimatedWidget works, let’s get down to creating our own custom implicit animations.
How to Create Custom Implicit Animations
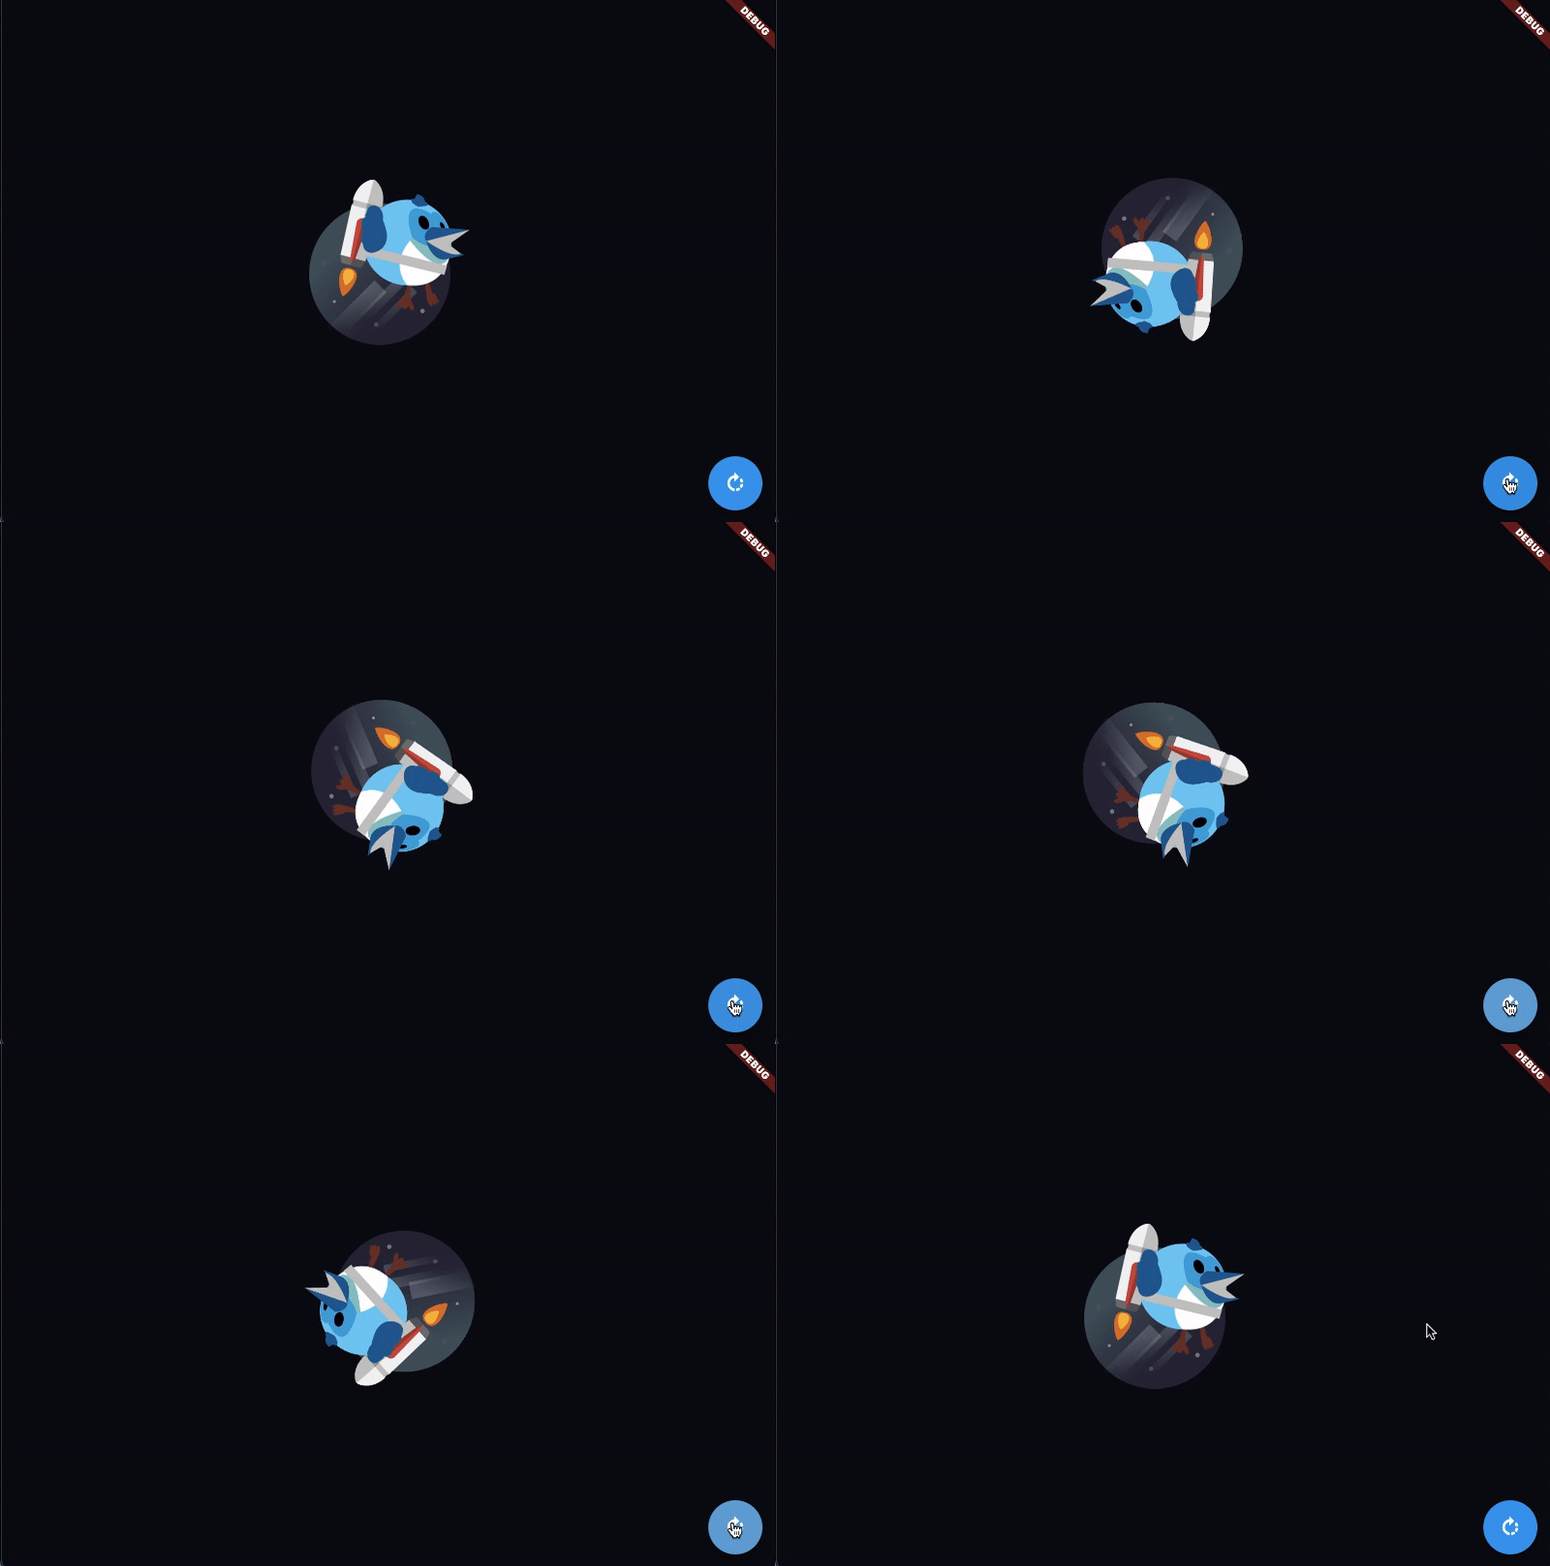
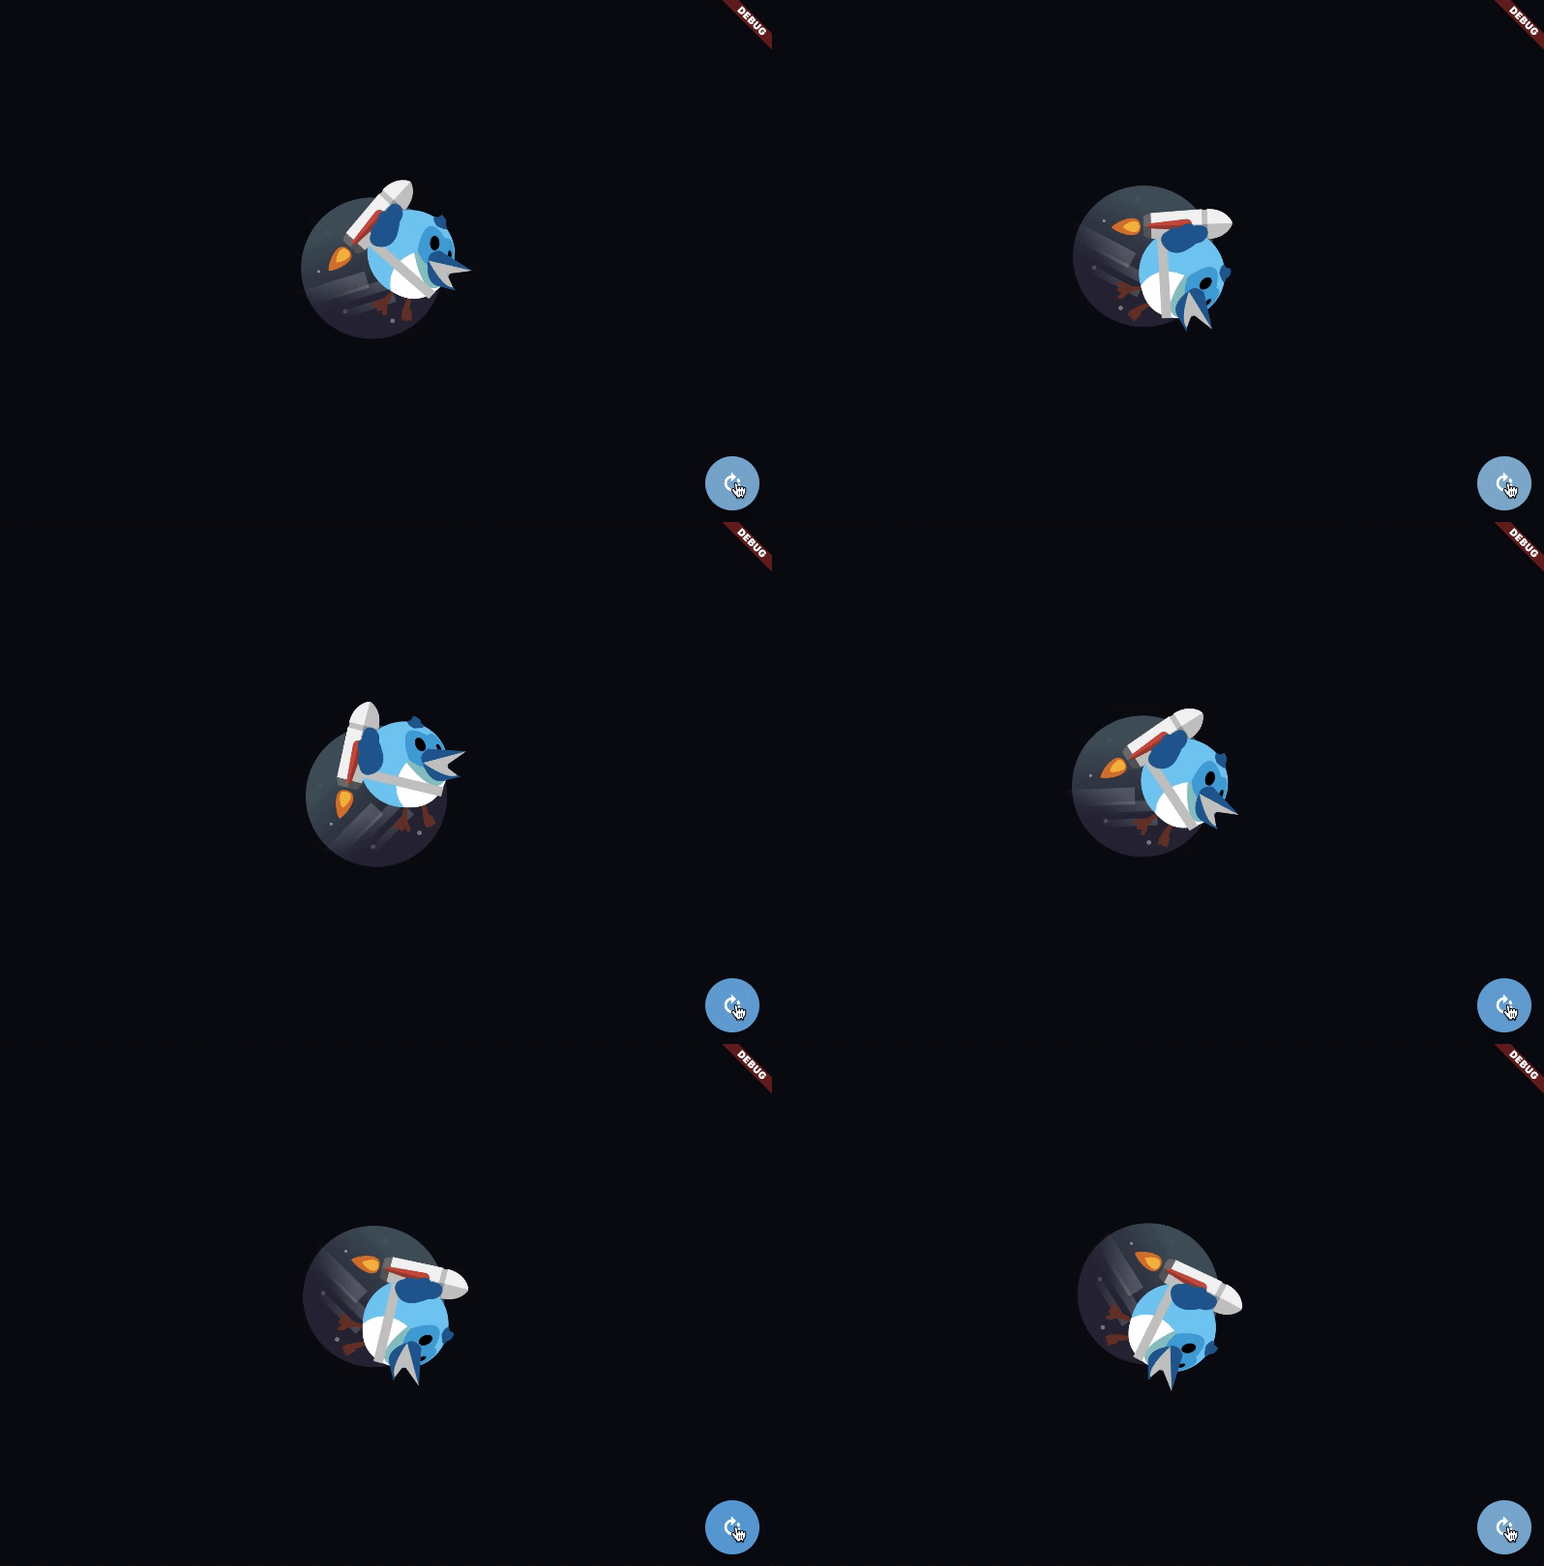
Let’s get started. We will be making this animation (all animation controller free!):

Look at dash go!!!
Creating your own custom implicit animations using ImplicitlyAnimatedWidget is extremely similar to creating a StatefulWidget.
Just like a StatefulWidget, you override the createState method. Also, make sure you pass a curve and duration to the parent using super.
Now, in the extension of the ImplicitlyAnimatedWidgetState, you override the build method. You also need to override the forEachTween method.
We’ll be creating an ImplicitlyAnimatedWidget called AnimatedRotatation which is an animated Transform widget.
Notice how we extend AnimatedWidgetBaseState instead of ImplicitlyAnimatedWidgetState. This is because ImplicitlyAnimatedWidgetState doesn’t actually rebuild the widget when the controller animates. All that AnimatedWidgetBaseState does is call setState when the controller is updated.
That implies that you can manage how you want your widget to be built when the animation is updated by only extending ImplicitlyAnimatedWidgetState. That would give you the option to use ValueNotifier or even AnimatedBuilder.
Right now, our animated widget behaves just like a normal Transform widget. Now let’s get on to animating it!
First of all we define a new Tween. Let’s call it ”_rotationTween“.
Now, in the forEachTween method, update ”_rotationTween’s” value using a visitor.
To finally see our animation in progress, all we need to do is evaluate the Tween using the Animation created by ImplicitlyAnimatedWidgetState.
Now we have our very own ImplicitlyAnimatedWidget. Now let’s create the screen that will use it!
And voila. We can now see dash rotating at maximum angular velocity!


